This blog will showcase how you can display blogs using MDX and Markdown syntax on your Nextjs application which uses app router.
But why?
Here’s the Problem
You want to display blogs on your Next.js application. That too with a simple and easy syntax like Markdown.
How do you do it?
Solution
Use @next/mdx package.
What is “@next/mdx”?
According to Next.js documentation on @next/mdx
The
@next/mdxpackage is used to configure Next.js so it can process markdown and MDX. It sources data from local files, allowing you to create pages with a.mdxextension, directly in your/pagesor/appdirectory.
MDX is built on top of Markdown that lets you write JSX in Markdown files. That means now we can use variables and other components inside Markdown.
How cool is that?
So how to implement it?
Steps to implement @next/mdx in Next.js
1. Create a Next.js application
Open the terminal in VS Code or a text editor and run the following command:
npx create-next-app@latest
2. Install @next/mdx package
If using yarn:
yarn add @next/mdx @mdx-js/loader @mdx-js/react
Or if using npm:
npm install @next/mdx @mdx-js/loader @mdx-js/react
3. Modify next.config.js file
This is a crucial step to configure MDX into Next.js.
const withMDX = require("@next/mdx")({});

/** @type {import('next').NextConfig} */
const nextConfig = {
  pageExtensions: ["ts", "tsx", "js", "jsx", "md", "mdx"],
};

module.exports = withMDX(nextConfig);
4. Create mdx-components.js file in root directory
Markdown maps to HTML elements and if you want to customize those HTML elements, such as increasing the fontSize property of <h1> element, you can use mdx-components.js file for it.
Essentialy, this file allows us to customize the styling of the HTML elements. More on this later.
// This file is required to use @next/mdx in the `app` directory.
export function useMDXComponents(components) {
  return components;
  // Allows customizing built-in components, e.g. to add styling.
  // return {
  //   h1: ({ children }) => <h1 style={{ fontSize: "100px" }}>{children}</h1>,
  //   ...components,
  // }
}
5. Create a page.mdx file in app directory
Now, we will actually create the page where we can show our first blog.
To do this, inside the app directory:
a. Create a blog folder
b. Inside the blog folder, create a my-mdx-page folder
c. Inside my-mdx-page folder, create a page.mdx file
Path will be this: app\blog\my-mdx-page\page.mdx
Paste the following content in page.mdx file
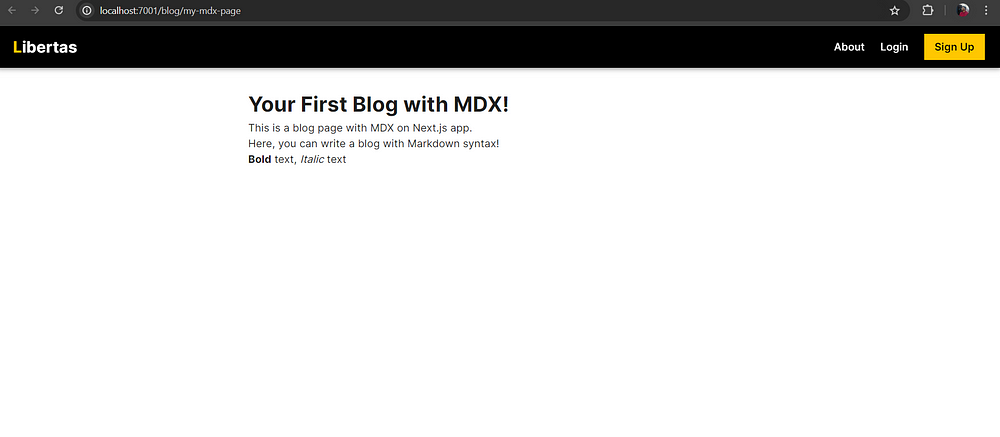
# Your First Blog with MDX!

This is a blog page with MDX on Next.js app.

Here, you can write a blog with Markdown syntax!

**Bold** text, _Italic_ text
6. Run the project
Run the following command:
yarn dev
Hit this URL: https://localhost:3000/blog/my-mdx-page
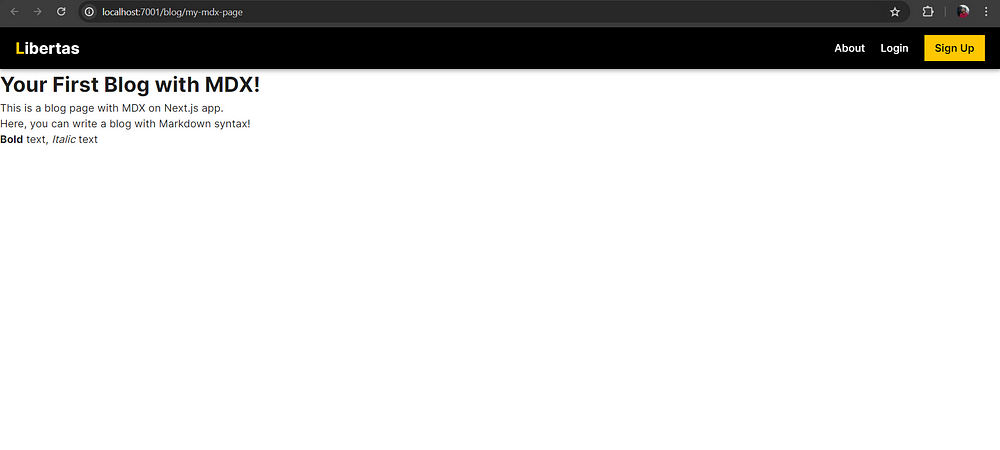
NOTE: In your bare minimum Next.js app, the above navigation bar at the top won’t be present. This is because the above screenshot is from Libertas, my Next.js app.
We have completed the hard part! This is how the blog is displayed.
But to make this more eye catching and easily readable to an average reader, you can do the following:
7. Add styles and layout
- Create a components folder in the root directory.
- Inside it create a file called
mdx-layout.jsand paste the following code:
export default function MdxLayout({ children }) {
  // Create any shared layout or styles here
  return (
    <div
      style={{
        maxWidth: "800px",
        margin: "0 auto",
        padding: "2rem 1rem",
      }}
    >
      {children}
    </div>
  );
}
The above code will give an outer layout or a container to our Markdown blog content. We will wrap everything inside this layout component.
- Next, in the
page.mdxfile, paste the following code:
import MdxLayout from "@/components/mdx-layout";

# Your First Blog with MDX!

This is a blog page with MDX on Next.js app.

Here, you can write a blog with Markdown syntax!

**Bold** text, _Italic_ text

export default function MDXPage({ children }) {
  return <MdxLayout>{children}</MdxLayout>;
}
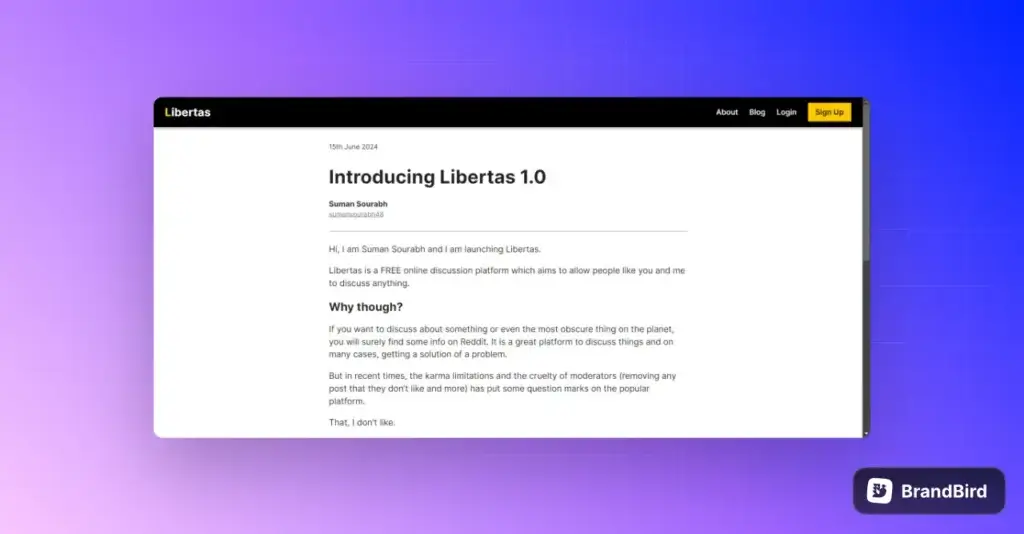
Above, we have wrapped everything in the page.mdx inside the MdxLayout component with help of the children prop.
Now, if you hit the /my-mdx-page URL, the output will be like this:
8. Customize HTML elements
Remember we had the mdx-components.js file in the root directory of the app? Now is the time to use it to customize the content inside page.mdx file.
In our output, we see that there is very little spacing between the text. Let’s change that.
Copy and paste the code below in mdx-components.js file:
// This file is required to use @next/mdx in the `app` directory.
export function useMDXComponents(components) {
  // Allows customizing built-in components, e.g. to add styling.
  return {
    p: ({ children }) => (
      <p style={{ fontSize: "18px", marginBottom: "1.2rem" }}>{children}</p>
    ),
    h1: ({ children }) => (
      <h1 style={{ marginBottom: "1rem", fontSize: "40px" }}>{children}</h1>
    ),
    h2: ({ children }) => <h2 style={{ marginBottom: "1rem" }}>{children}</h2>,
    h3: ({ children }) => <h3 style={{ marginBottom: "1rem" }}>{children}</h3>,
    h4: ({ children }) => <h4 style={{ marginBottom: "1rem" }}>{children}</h4>,
    h5: ({ children }) => <h5 style={{ marginBottom: "1rem" }}>{children}</h5>,
    ul: ({ children }) => (
      <ul style={{ marginBottom: "1.2rem" }}>{children}</ul>
    ),
    ol: ({ children }) => (
      <ol style={{ marginBottom: "1.2rem" }}>{children}</ol>
    ),
    li: ({ children }) => <li style={{ fontSize: "18px" }}>{children}</li>,
    ...components,
  };
}
Now, the elements above will have some margin at the bottom.
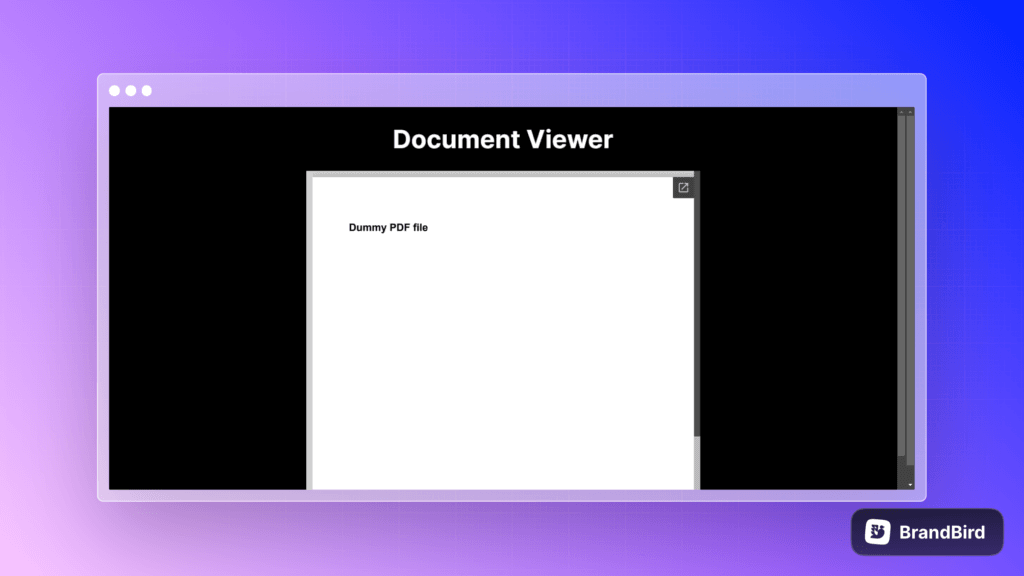
If I add more content inside page.mdx file, then with above code in mdx-components.js file, the output blog will be something like this:
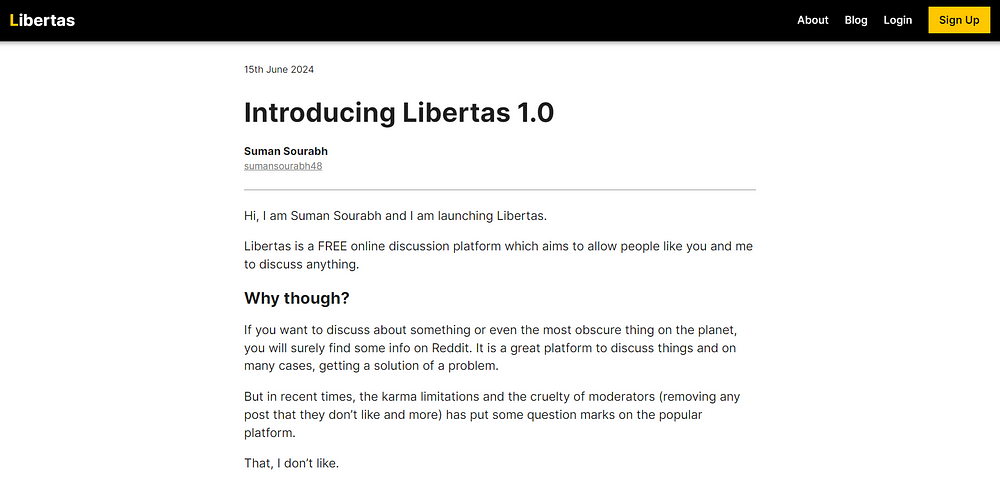
Pretty cool, isn’t it?
Summary
Here, we learnt how to use MDX, Markdown, and @next-mdx package to display a blog on Nextjs application with the app directory.
You can use the FAQs built on Next.js too and show it on your blog.
Resources
- Libertas
- Getting Started: Installation | Next.js (nextjs.org)
- Configuring: MDX | Next.js (nextjs.org)
- @next/mdx — npm (npmjs.com)
Contact me on X (Twitter) or LinkedIn to ask me any question about this.
Read more: